Showing posts with label Party ideas. Show all posts

Wednesday, November 27, 2013

Benjamin Franklin Costume DIY

This is an idea for a do-it-yourself Benjamin Franklin costume.

My grandson was preparing for a wax museum program at school.

He called upon me, his grandma, to be his stylist!

Such an honor.


I made this costume for a total cost of $3.75 and the use of some supplies that I had on hand. Ben was able to supply the pants and shoes from his own clothing.

1st stop.... a good look in your own closets (because re-purposing is the best) or nearby thrift stores for a jacket. I found this one in a thrift store (my first stop....grandma magic you know!) that happened to be having a 50% off all items that day. What a bargain at just $2.75. It is a ladies small, black velvet, with a white satin lapel.  It had some beading on the front near the jacket closure that I removed. Papa was with me and questioned my selection but I could already vividly see where I was going with this little project.  After our first fitting, I turned the front of the jacket inward, tacked it down with hot glue and needle and thread to make the chest opening smaller and to bring in the waist to fit. I then hand stitched about six inches of the front of the jacket together at the waist.

I cut some length off of the sleeves and tacked them up with needle and thread for a custom fit! Not a hand sewer? Sure you could use hot glue.


For the chest "Dickie" I cut a piece of heavy white ribbon 1" wide to fit his neck and allowed an extra 5 inches for a 2 1/2 inch Velcro overlap in the back.

I used a scrap of white fabric to cut a rectangle of fabric two and a half times the length of his neck measurement and twice the length that would fill the entire chest opening of the jacket plus another 12 inches. The extra 12 inches is going to allow for an ample tuck into the jacket. Fold the rectangle in half by matching up the two neck lengths. Stitch or hot glue closed to create a 1/4 inch seam with all cut edges hidden on the inside.


Create two more white rectangles as above but cut at different lengths depending on the size of the costume. My Ben is about a size 12. I cut one at about 5 inches finished, and the next at 8 inches finished. (These are going to create more ruffle to the neckline.)

Hot glue or stitch 2 1/2 inches of Velcro to each end of the neck ribbon. Make sure to put it on the right sides so that when brought around the neck it will over lap and stick!

Stack all three finished rectangles. Longest on bottom, shortest on top. You can now add lengths of flat or gathered laces and trims if you choose by stitching or hot gluing into place.  Once you have it how you want it run a gathering / long  basting stitch to gather all three top edges together. Pull to gather so that it fits between the two pieces of Velcro.

Stich or hot glue the gathered fabric into place matching top edges with ribbon. That's it you're all done with the "Dickie".

(You could also add fabric and lace ruffles to a white crew neck t-shirt or purchase a thrift store ruffled shirt.)


Powdered Wig:

Purchase a painters hat  from your local building supply store. $1 at Home Depot. Cut off the brim. I placed a couple of stapled pleats on each side of the back to get a custom fit to Ben's head.

Now your are free to style your wig anyway you like. I used leftover quilt batting to first cover the entire hat. Nip, cut, trim, and hot glue as needed. Create curls and shape by rolling desired lengths of batting cut at approx. 1 1/2 inches wide and hot glue into place. I used a band made from the cut off velvet sleeve to hold his ponytail curls in the back. (Another student used cotton balls to create the curls. That worked well too!)


Pants, Socks, and Glasses:

Papa removed the lenses from a pair of his old glasses and donated them to Ben. His pants were a pair of sweats rolled up to length. White socks were added to cover his legs and pulled up under his pants.


Shoes and Buckles:

I made buckles for his shoes from textured black card stock with gold glittered buckles also cut from card stock scraps. I hot glued one side of a  large paper clip to the back of each buckle. Folded the paper clip back over so that the paper clip/buckles could be slid and held onto the tops of his black Sunday shoes.

He looked great don't you think? Best of all he could sit perfectly still just like a wax statue and he when he came to life to perform he knew his stuff!

We really enjoyed the wax museum presentation. Each student had a sticker on their hand. Once you pressed on the sticker the statues came to life and they each performed perfectly memorized speeches on the history of their amazing lives.


Friday, August 17, 2012

Celebrating Red, White, and Blue


4th of July party favors for the grands
to snack on at the fireworks show.


Oh say can you see....
the red, white, and blue table decor?


We celebrated with , ribs, BBQ chicken,
and all the fixins!


I love pulling out my "resources" for all of the different
holidays and seasons.


Sweet buttery corn and sweet memories were made
over dinner, visiting, playing together, and a 
spectacular small town fireworks show!


Wednesday, February 29, 2012

Grandma's Suitcase

A women's organization where I serve as a co-chair on the activity planning committee recently hosted a presentation titled "Grandma's Suitcase". It was on the of history women's clothing for the last 150 years.  It was a very interesting and entertaining evening.  The presenter, has a gold mind of vintage and antique clothing and knowledge. Many of her pieces were made and worn by those on her very own family tree.

The Promotional Poster.
"Grandma's Suitcase"
The presenter pulled one piece of clothing out of the suitcase at a time
and shared the history of it. So many beautiful things!


She has been doing this "volunteer" presentation for several years.
150 years of dresses. 
Vintage babies in vintage clothing.
Actual photo of a loved one wearing this piece.

It was amazing to see the hand sewing of over a century and a half ago. The first bras, garter belts, and corsets were very primitive by today's standards. The handmade eyelet fabrics and the hand embroidery work on the clothing was beautiful. And, to think they probably did it by candlelight!
I was in absolute awe in all that the presenter knew about her family that lived generations before her and in her knowledge of vintage and antique clothing. Over the years she has taken her volunteer presentation to many senior homes and centers. Many who have enjoyed her presentation have added to her stories and have given her special items that they have kept over the decades to add to her collection.

We put together a Vintage Dessert Social to follow the presentation. As the women entered the social there was old time music playing and a vintage style serving table to add to the feeling of the evening.


When the presenter saw what I had decorated the table with she
asked me to have lunch with her one day.

I too have a collection of things that are very special to me.
A variety of handwork and the tools made and used
by my own mother and grandmothers adorned the table.


In fact, the little iron you see above. 
She has one just like it!


The desserts were bite size in mini cupcake wrappers.
Small cube of cake + whipped cream + a fresh strawberry : Strawberry shortcake Bite
Small cube of cake + Cream Cheese topping + cherry on top : Cherry Cheesecake Bite
Vanilla wafer + banana slice + banana pudding + whipped cream: Banana Cream Pie Bite
Graham cracker crust + chocolate pudding + whipped cream : Chocolate Cream Pie Bite
Small cube of cake + Pineapple Dream Topping + Pineapple tidbit: Pineapple Dream Bite
Fresh strawberries and red grapes: Guilt Free Bite

As part of this event we invited the women to donate a pre-owned dress
for donation to a local women's shelter.

It was an amazing evening of learning, sharing, entertainment, 
socializing and old fashioned sisterhood!


Friday, August 26, 2011

Pinterest has my Interest!

Have you checked out the new Pinterest website? Awesome.  I have been compiling tons of grandma ideas there. Save yourself some time and check out my creative grand parenting board. Visit my other boards while you are there too. I have a Grandkids Christmas Day Camp board...... so much fun!!! Great Fall holiday board too. You can follow me if you like so you don't miss out on any of my creative finds! Best of all. It's free.

Monday, August 22, 2011

Grandkid's Back-to-School Party 2011

This party has become a loved tradition that the grandkids will not allow Papa and I to forget. It is a celebration of the new school year of learning that is ahead of all of the school age cousins. The date and time is cleared with the parents ahead of time but the invitations are delivered pretty last minute to the kids.

The eight school age cousins looking out the windows.
The delivery of the invitations is an event on it's own. I hand deliver them so I can see their excitement and anticipation of this very loved tradition.

This year the invitation included Papa and I taking our eight back-to-schoolers out to eat, to a movie, and back to our house for party favors.

The kids are always greeted at the front door with a back-to-school welcome.


Once inside my pre-planning was put to the test X's eight!

Laminated and color coded buddy wristbands were distributed.

Menu and drink choices were made ahead of time.

Car and car seating assignments were also pre-assigned.


I had called ahead the night before and I-Hop was expecting
our PARTY of ten!

They were ready for us and we were seated immediately.

Ordering was a breeze and the young waitress was 
truly impressed!

She told the kids; 
"I wished I could have done this when I was little."

Papa and I did get a few looks from the other customers when we arrived.


Looking back, I can see why.

We were headed to the new Spy Kids movie after breakfast.
The current I-Hop kids promotion was perfect for our
special occasion. The kids menus were filled with Spy Kids
activities to keep them busy while waiting 
on breakfast to be served.


They were all good eaters and they
loved the service from our waitress.

Following breakfast we headed to the 11:10 showing
of Spy Kids.

We allowed plenty of time so we could get our concessions...
(yep, it was a party and we needed concessions on top of our 
syrup laden breakfast) and to get our ten seats together.


I had made school themed goodie bags
to add to their popcorn and drinks.


The kids loved the action packed movie but as a 
grandma I clinched my teeth a few times at some of
the language that was used. Not bad words but 
certainly not some words I would want
my grandchildren repeating following a movie that
I TOOK THEM TO!

Exiting the movie theater was the toughest part of the event for 
Papa and I.
We had to pass through the dreaded video game arcade to 
exit the movie with the sixteen little hands, eyes, and feet in our group.
An area I had clearly forgotten to address during
our " rules and expectations discussion" before we
had headed out.
(Note to self for next time!)

We headed back to our house for the party favors.


Each child received a back to school party name plate.


A Back Back Buddy that I had created for each of them and 
a couple more fun back to school goodies!

Check out previous back to school party ideas here and here.

They were clearly not ready to go home yet because they
were having a great time with their cousins. 
Papa and I held them to the
ending time of the party and we returned our sugar filled
sweethearts back to their families.

When the kids don't want it to end
that means...
Our loved tradition was a complete success!


Tuesday, July 12, 2011

Operation: Return to Virtue

Well, it is that time of year again. A year ago I catered a huge Royal Gathering that was part of a week long church camp that my oldest daughter is the director of. Last year's camp theme was everything royal with the theme being Daughter of a King.

This year the theme is Operation: Return to Virtue. The entire week long camp is centered on a military theme. My daughter is currently in the active trenches as one of the Generals. She and her staff headed up yesterday to set up base camp. Today 160 Troops will be arriving to participate in the week long Operation: Return to Virtue.

I'm running my own little camp here with her three little boys while she is away serving with her troops. My daughter has worked long and hard for months to prepare for what is going to be a very memorable week in the lives of 160 teenage girls.

There will be dog tags issued, adorable silk screen shirts worn as the official uniform, and all kinds of fun drills and special missions to fill their week.

On one of the days there is going to be an activity of "Endurance Training".  The endurance training will include repelling, water balloon grenades, obstacle courses, relays, and even target practice. The girls will be blowing away the bulls eye of some of the non-virtuous things and behaviors of the world.

Upon completion of the endurance training there will be a celebration, refreshments, and small engraved metal tags that read "ENDURE ALL THINGS" will be awarded to each of the troops to add to their neck chains.

While I can't be at camp this year I pulled together and sent the linens for the refreshment tables and I shared my ideas for table decor for the awards ceremony. Last minute my daughter needed a poster for the refreshment tables.

I did one of my favorite things to help her out. I was able to pull together two posters with no need to run to the store and with no additional cost to the camp budget. Here is what I did.


I had saved the posters from last year's camp.
I was sure I could tweak them to go from 
Royal to Formal Military.


All I needed was some black and white
card stock, my computer printer,
a paper cutter, and a glue stick.

I even had the shiny gold emblems that
I added to the black strip. 

These perfect little bling, bling
 touches have been hangin' out
in my resources for years.

Re-use and Re-purpose
one of my favorite things!


Tuesday, June 21, 2011

No Bow, No Ribbon, No Problem


This is a gift I wrapped for one of my grandsons. 
When I had no bow or ribbon that worked well with
 the gift wrap (20 minutes before party time) 
 I had to come up with something 
using the resources I had on hand.

1. Cut out the letters of the child's name from card stock.
2. Decorate the letters using markers 
to coordinate with the gift wrap.
3. Punch holes in the top right corners of the letters.
4. String the letters using yarn, string, cording, or twine.
5. Tie the string of choice tightly around the gift.
(add a bit of tape to the back to hold in place)
6. Add some festive hand tied bows 
to the personalized gift garland.
7. Watch them smile as they recognize the 
letters in their name!

This idea could be used as a wall art kid craft.
(I would add a piece of heavy tape on the backside
to reinforce the corner before punching the hole.

It could be made to match their bedroom
or
Red, white and blue for the 4th of July
Red, pink, and white for Valentines
Red and green for Christmas
Green and white for St. Patricks
Pastels for Easter
Black and Orange for Halloween

Can you think of any more?

Monday, June 13, 2011

Rock-n-Roll Party Ideas

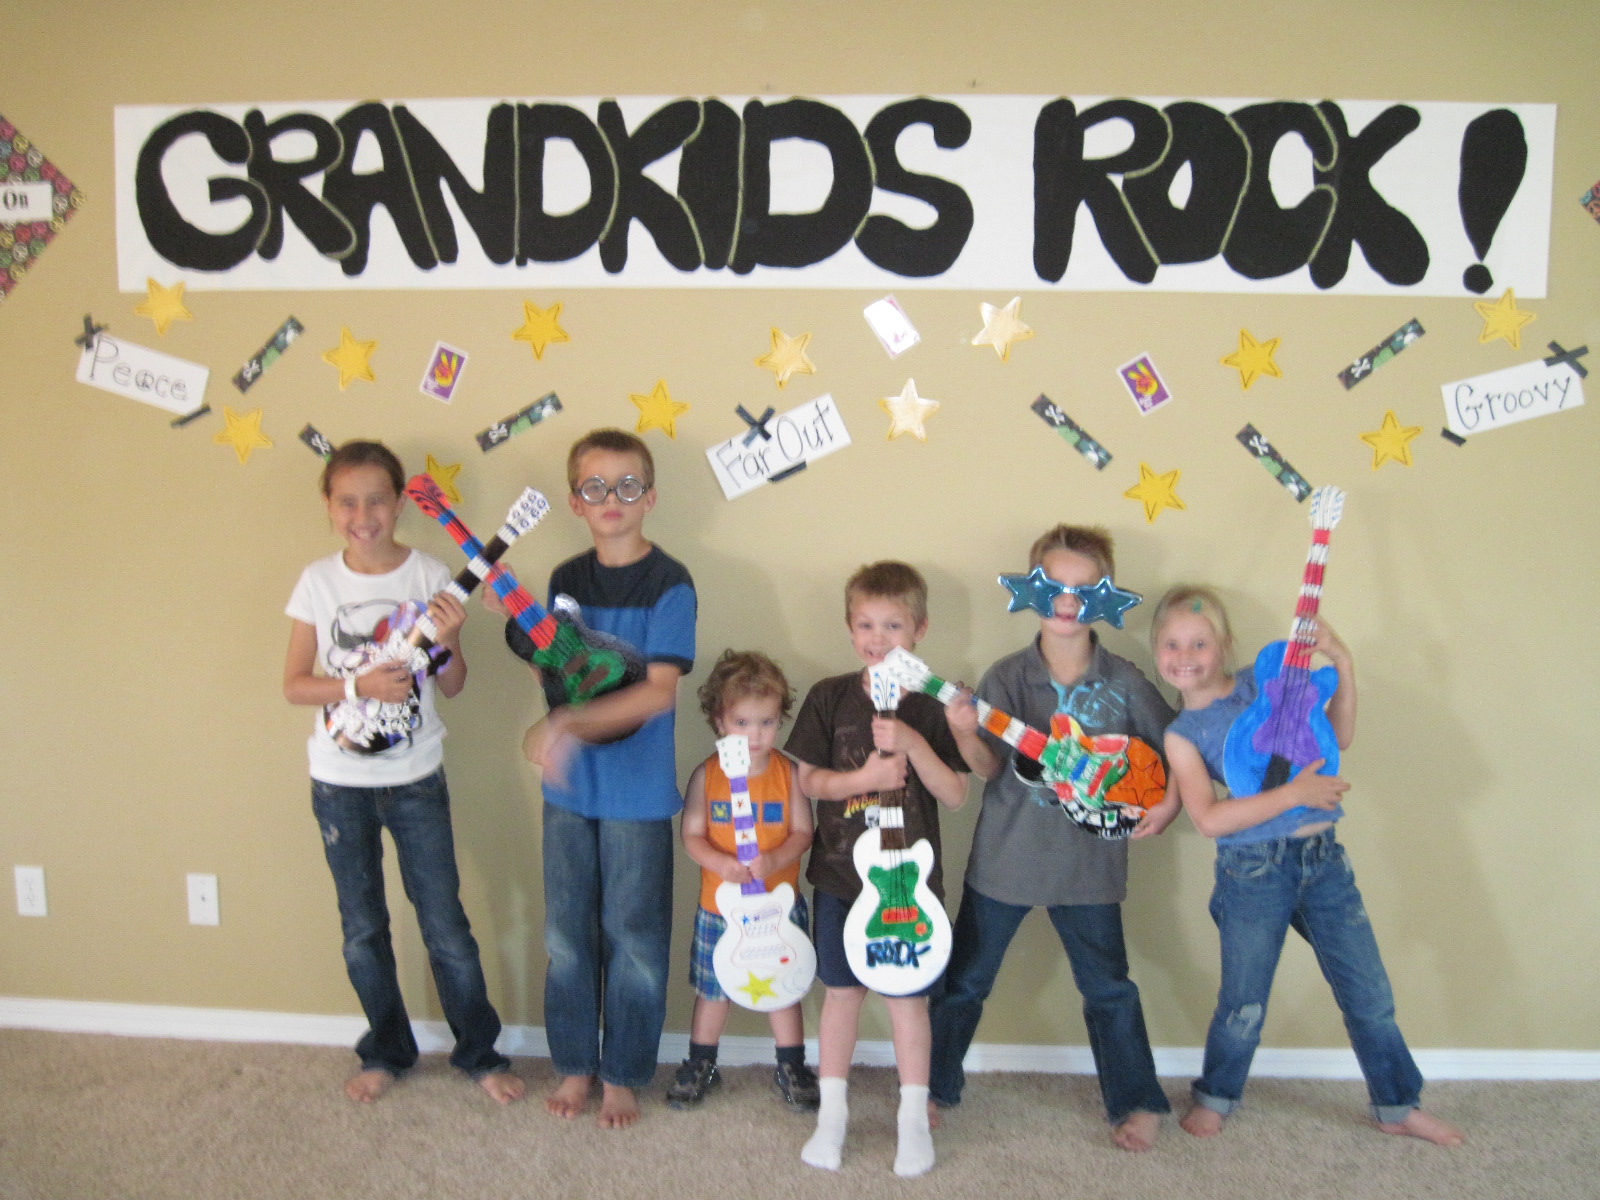
All of these ideas and resources are from one of my Grandma Camps. The invites, crafts, decorations, games, and activities can be used for any kind of party with a rock-n-roll theme. ROCK ON Party Planners!

Red Carpet Awards Ceremony Here.
I Love Rock-n-Roll Music Video Here.
Rock Star Dress up Here.
Rock Star Wrist Band craft Here.
Tattoo Activity Here.
Rock Star Photo Shoot Here.
Pre-Red Carpet Tailgating Party Here.
Do it Yourself Tailgating Canned Heat Project Here.
Rock Star Craft Here.
Roc-n-Roll Party Game Here.
Rock-n-Roll Guitar Craft Here.
Kicking Off a Rock-n-Roll Party Here.
Rock Star Dance Party Here.
Rock-n-Roll Party Invitations Here.
Rock Star Walk of Fame Activity Here.
Rock Star Group Coloring Project Here.
Rock Star Dance Party Here.
Rock Star Sleep Over Here.